
FocusHop · Find your cursor
Can't Find Your Cursor Across Multiple Mac Displays?
Stop sweeping the mouse across your desk to find the pointer. Reveal it where it is, or jump to a chosen display and follow the locator pulse with FocusHop.
On this page
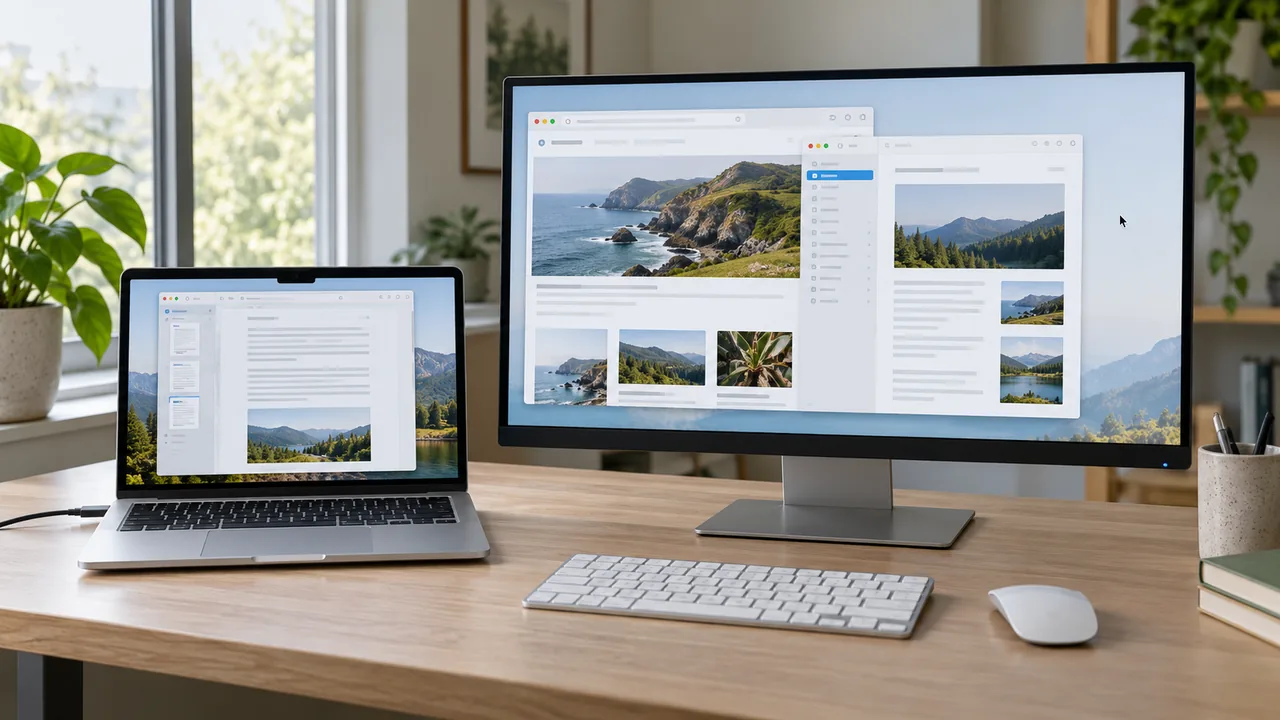
You look back from a document on your laptop to a browser on the external monitor. Before the next click, there is a smaller question: where did the pointer go? Dragging the mouse around to spot it adds another interruption, especially when the displays have different sizes or a busy background.
FocusHop offers two different answers. Find Cursor reveals the current position without another jump. A screen shortcut moves the pointer to a chosen display, then marks its landing point. Pick the result you want rather than sweeping across every screen.
The problem: a small pointer in a much larger workspace
In this example, one Mac drives its laptop display and a larger external monitor. The pointer is already on the external screen, near the right edge of the visible windows. Neither screen needs rearranging; you just need to find the next click.
1. Reveal the pointer without moving it
With FocusHop running, press Control + Command + Return, the default Find Cursor shortcut. A brief locator cue identifies the pointer at its existing position. You do not have to remember which display it is on first.
Look for the cue, then continue to the intended target. Find Cursor does not move a window, change the active app, or click a button. The cue is temporary, not a permanent pointer trail.
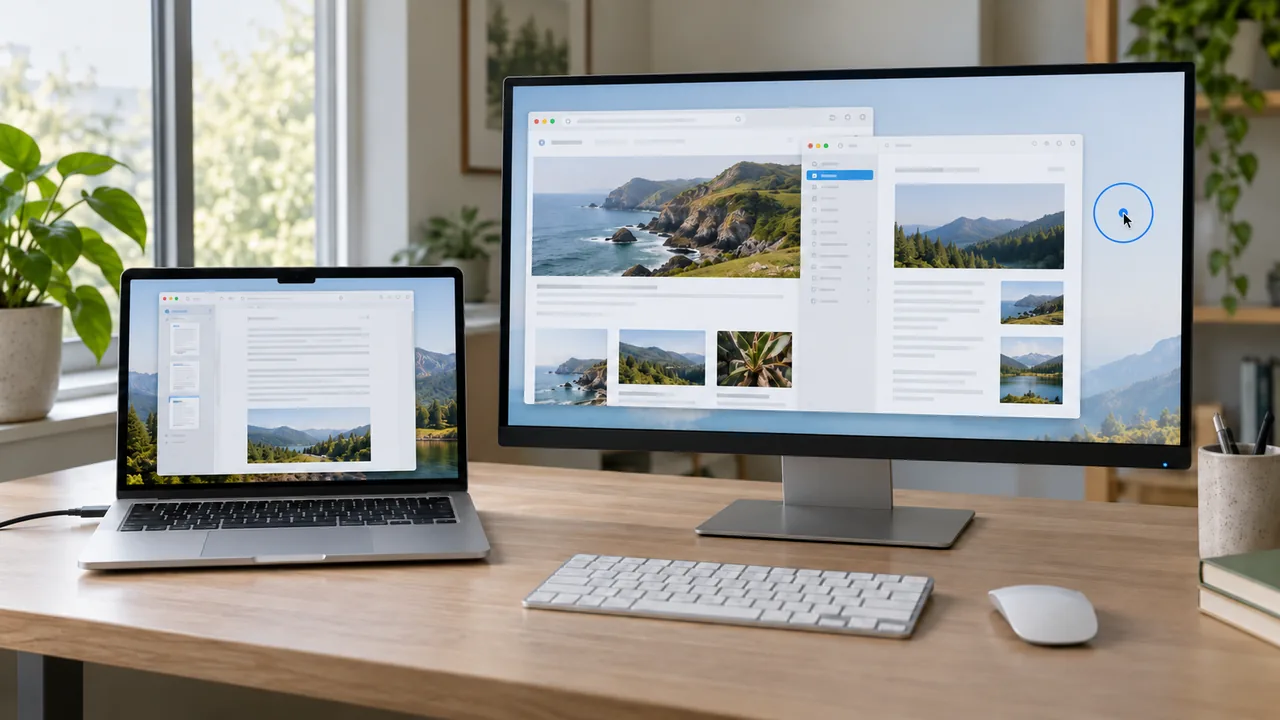
Check the result: the pointer is visible in the same part of the workspace. If you only needed to find it, no screen jump is necessary.
2. Jump to the display you actually want
If your next task is on another screen, finding the current position is only half the job. Use the destination instead:
- Press
Control + Command + Spaceto show Screen Overlay and identify the destination’s current number. - Press
Control + Command + numberfor that display. For example, use2only if the overlay identifies your intended display as Screen 2. - Follow the locator pulse at the landing point, then check the window you intend to use before clicking or typing.
For direction-based jumps, hold Control + Command and press Left, Right, Up, or Down. At a directional boundary, where there is no next display in that direction, FocusHop keeps the pointer in place and reveals its location instead.
Check the result: you can see the pointer on the intended display. A cursor jump is not app activation, and it does not move the app’s window. The exact landing position also follows your configured cursor destination; use FocusHop Support if it differs from what you expected.
Recheck screen numbers after reconnecting a display
Do not treat a screen number as a permanent name for a physical monitor. After reconnecting a dock or changing the display arrangement, open Screen Overlay again and match its labels to the screens on your desk.
Try one jump and confirm the result before continuing. FocusHop navigates displays already recognized by the same Mac; it does not create virtual displays, repair a missing display connection, or transfer the pointer to another computer.
Use macOS pointer settings alongside the shortcut
You may prefer a larger or more contrasting pointer throughout the day, rather than only a temporary locator cue. Apple’s Make the pointer easier to see on Mac explains the built-in options under System Settings -> Accessibility -> Display -> Pointer, including pointer size, outline and fill colors, and Shake mouse pointer to locate.
Those options can be enough when visibility is the only issue. FocusHop adds a keyboard-triggered cue and destination-display jumps when your task also involves moving between screens. You can use the two approaches together.
If the expected cue or jump does not appear
| What happened | What to check next |
|---|---|
| Nothing happens after the shortcut | Confirm FocusHop is running. Check its shortcut settings for an occupied or changed combination, and use the combination currently shown there. |
| The pointer stays on the outermost display | With no display further in that direction, staying in place is expected. Look for the locator cue, or choose a numbered destination. |
| A jump goes to a different screen | Reopen Screen Overlay after reconnecting or rearranging displays; use the current number rather than an old one. |
| The cue is too brief to follow | Trigger Find Cursor again. You can also adjust the macOS pointer appearance using Apple’s settings above. |
| The pointer is visible but typing still goes to another app | Activate the intended app or window first. Revealing or moving the pointer does not choose the keyboard input target. |
| A display is missing from the available destinations | Check that macOS recognizes it, then check the managed display limit for your plan. FocusHop cannot navigate a disconnected display. |
Start with a harmless public browser page or a disposable TextEdit document when trying the shortcuts. No private file, screenshot upload, or account is needed to practice the two-display task.
Try it on the desk you already have
Both App Store and Direct include Find Cursor, Screen Overlay, and cursor jumps on macOS 14 or later. Free supports up to two managed displays; Pro raises the limit to eight. These pointer-navigation features are not a Pro-only unlock, and Direct window control is a separate workflow with its own permission requirements.
Choose a FocusHop installation and try reveal -> choose a screen -> jump -> confirm. For the next step, use the developer workflow, browse other multi-display use cases, or return to the FocusHop product overview.
Next with FocusHop
- Choose a FocusHop edition
Compare App Store installation with the optional Accessibility-powered Direct window controls.
- Explore FocusHop
See the workflow illustrations, Free and Pro display limits, and current Mac requirements.
- Set up shortcuts and displays
Find help for screen numbering, App Finder, permissions, native window shortcuts, and shortcut conflicts.
Keep exploring
More FocusHop guides and update history.
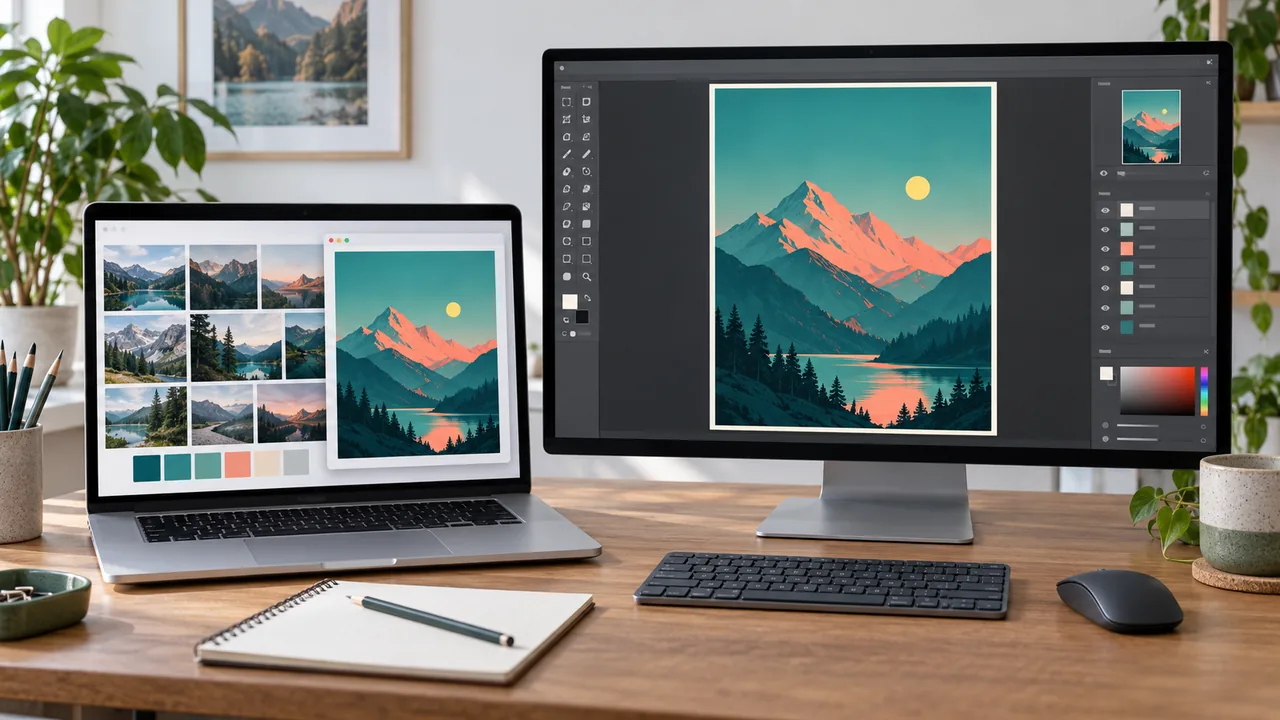
Move Between Canvas, References, and Preview on Mac
Keep your canvas in view while checking reference material and a saved export. Follow one two-display creative loop with FocusHop, with optional Direct window movement when a comparison needs it.
Read article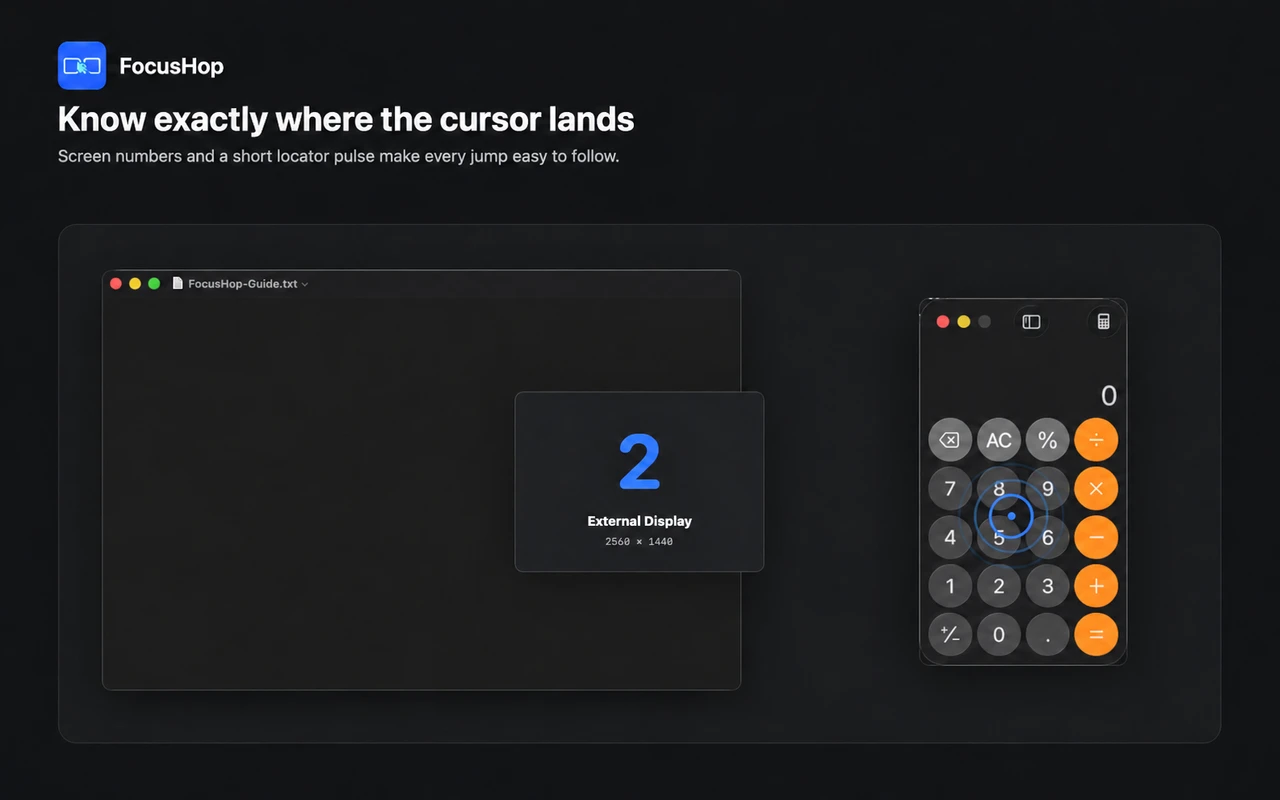
A Multi-Monitor Mac Workflow for Developers
Keep one debugging loop moving between your editor, browser, and terminal. Use FocusHop to jump the pointer, find the right app, and move a supported window only when needed.
Read article FocusHop: Jump Across Displays, Find Apps, and Move Windows
Learn a simple FocusHop 1.1.0 workflow: jump across displays, find apps, compare App Store and Direct, and link an existing Apple Pro plan before switching.
Read article