You can use an otoscope camera on Mac when the device behaves like a standard USB UVC camera or a supported RTSP source. For many users, that is enough to turn a Mac into a clearer, calmer workspace for local preview, snapshots, and short recordings. The key is to check the source type first and keep the workflow focused on viewing and documentation rather than expecting a diagnosis tool.
Start by checking what kind of camera you actually have
The most useful first question is not “Is this an otoscope?” It is “How does this device present video?”
In practice, the answer usually falls into one of these paths:
- a standard USB UVC camera
- a network camera or bridge that exposes RTSP
- a proprietary mobile-only device or app-bound workflow
The first two categories are the relevant ones for ScopeDock. The third usually means the problem is not Mac support in general, but a vendor workflow that was not designed for standard desktop video handling.
Why a Mac workflow can feel better
For many otoscope users, the useful task is straightforward:
- see the live image clearly
- capture a still
- record a short clip
- keep the files locally
- review them later in a predictable place
That is where a local-first desktop workflow helps. The experience is often calmer than relying on a phone app when the real goal is simply to view and document.
What ScopeDock is good for here
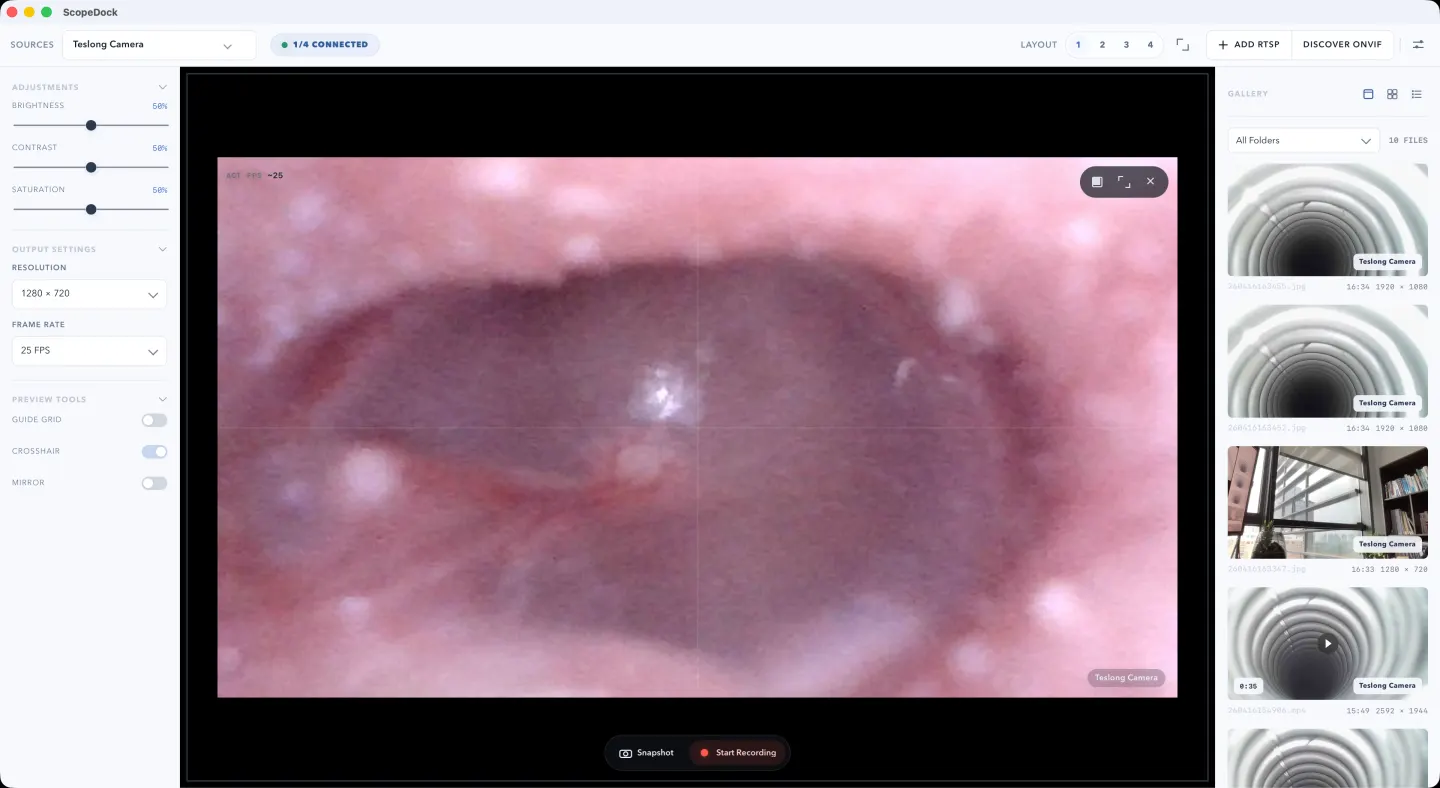
ScopeDock is useful when the otoscope behaves like a supported video source and the workflow is local preview plus capture.
That usually means:
- previewing the camera feed on Mac
- taking snapshots during an observation
- saving short local recordings
- keeping the workspace focused on the camera instead of unrelated media controls
This is especially useful when the session is short, technical, and evidence-oriented.
If you want to check whether that workflow matches your device and use case, start with the ScopeDock product page and keep the download page nearby for compatibility questions.
A simple setup path
For a standard USB-style workflow, the path is usually:
- Connect the device to the Mac
- Confirm the app can access the camera
- Open the preview
- Check framing and visibility
- Capture snapshots or record a short clip if needed
- Review the saved media locally
If the device is RTSP-based, the setup path changes slightly, but the same principle applies: preview first, capture second, keep the workflow local and simple.
What to check before you assume it will work
Before recommending a Mac workflow, it is worth checking four things:
1. Does the device expose a standard video path?
If the device presents as USB UVC or RTSP, the answer is usually yes. If it only works through a vendor mobile app, Mac support may not be realistic without a workaround.
2. Is the workflow about viewing and documentation?
ScopeDock fits best when the goal is preview, snapshots, and recordings. It is not meant to be a diagnostic or medical decision platform.
3. Do local file paths matter?
For many users, the reason to move to Mac is better control over screenshots and recordings. If local file handling matters, treat that as part of the evaluation.
4. Does the user actually need a phone-style companion app instead?
Some devices are tightly coupled to mobile app features rather than standard video output. In those cases, the issue is often device design, not missing desktop software.
What ScopeDock is not claiming
ScopeDock is not a medical diagnosis tool, and the website should not imply otherwise.
It helps with:
- local camera preview
- snapshots
- short recordings
- inspection-style documentation
It does not provide:
- diagnosis
- medical interpretation
- clinical decision support
That boundary is important. A good product page should make the workflow clear without making claims the software is not meant to support.
When this workflow is a good fit
Using an otoscope on Mac is a good fit when:
- the camera exposes a standard source path
- the user wants a larger screen and calmer local workflow
- the main need is observation and capture
- local recordings and snapshots are part of the task
When it may not be the right fit
This may not be the right fit when:
- the device only works through a proprietary mobile app
- the user expects medical diagnosis features
- the workflow depends on a vendor ecosystem outside standard camera access
The practical next step
If you are evaluating an otoscope workflow on Mac, use the product page to decide fit, the download page to check compatibility, and the support page if the device path is still unclear.
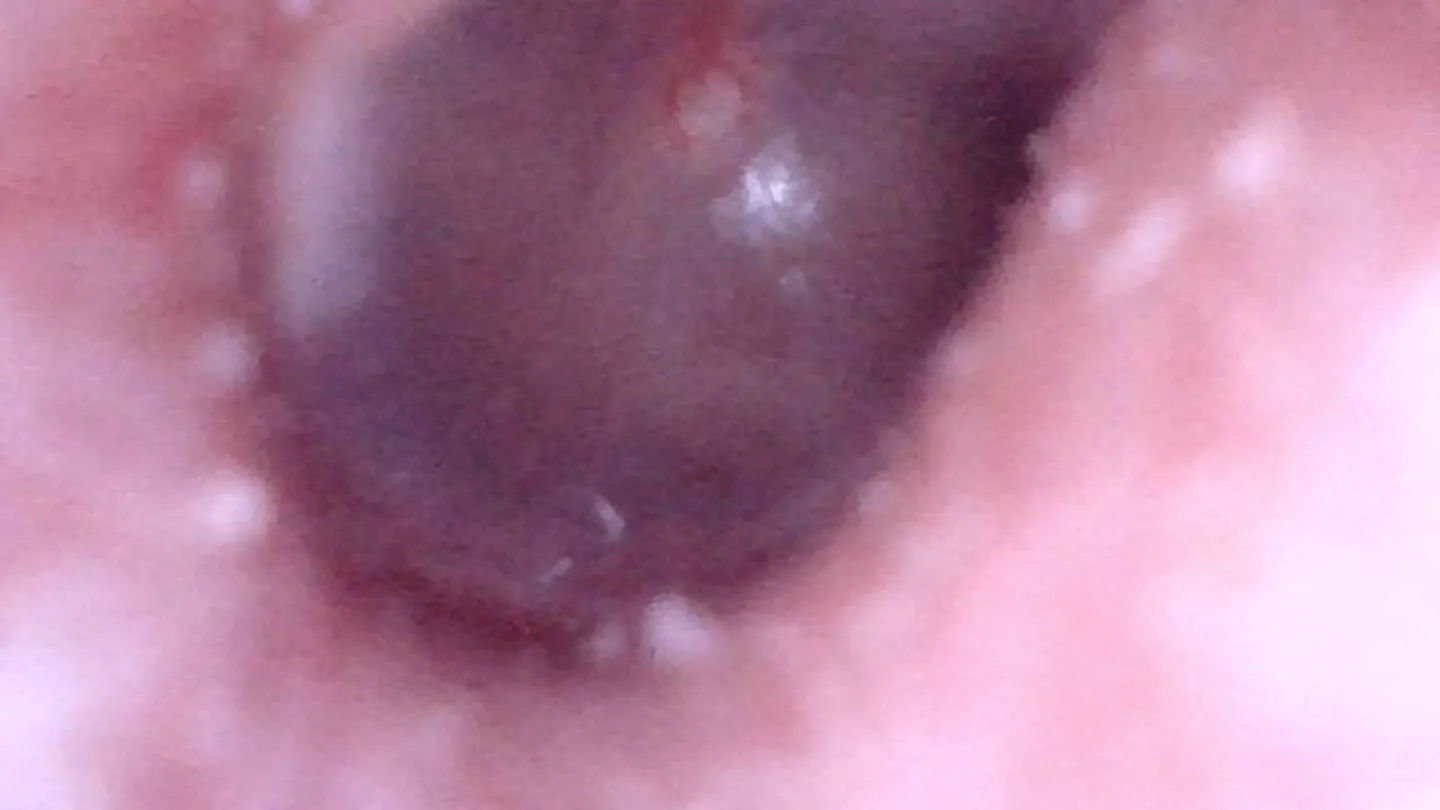
If snapshots are part of the workflow, a captured still is often the most useful result. It gives you a stable reference you can review later without turning the workflow into something heavier than it needs to be.
FAQ
Can I use an otoscope camera on Mac?
Yes, if the device behaves like a standard USB UVC or supported RTSP video source.
Can ScopeDock diagnose what the camera shows?
No. ScopeDock is for local preview, capture, and recording. It does not provide diagnosis or medical interpretation.
Can I save snapshots and recordings locally?
Yes. ScopeDock is positioned as a local-first workflow, so snapshots and recordings are intended to stay on your Mac unless you choose to export them.
What if my otoscope only works with a phone app?
In that case, the limitation is usually the device’s workflow, not just the Mac app. The first thing to check is whether the camera exposes a standard USB or RTSP path.
Where should I go next?
If you want to evaluate fit, start with the product page. If you want to check setup and compatibility, use the download page and support page together.